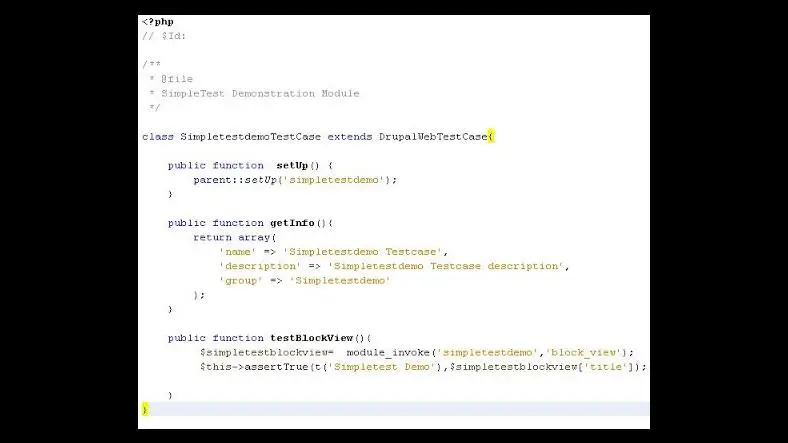
Why to write test case? Very simple, in one word, Its waste of time and effort of checking something we changed in code and that effects other part and to make sure every time what change we make that should not effect any other code, so this task can be done by our test cases
In this article, giving a simple test example to create a drupal test case
- Create a new PHP class that defines a test
- Provide Drupal with meta-data about your test
- Run your test to see if it works
1. Start with creating a module
Create a module "Simple Test" inside sites/all/modules/custom/simple_test
Create simple_test.info with the below content
name = Simple test core = 7.x
Create simple_test.module with the below content
<?php function simple_test_menu() { $items = array(); $items['simple_test'] = array( 'title' => 'Simple Test', 'access callback' => TRUE, 'page callback' => 'simple_test_page', 'type' => MENU_NORMAL_ITEM, 'menu' => 'navigation', ); return $items; } function simple_test_page() { return t('Welcome to Drupal. Its simple_test..!'); }Goto the modules page admin/modules and enable the Simple Test module
Next goto the page which you created just now in the module /simple_test, you can see "Welcome to Drupal. Its simple_test..!" this test which you have returned.
And, this is what we will be testing now
2. Use "DrupalWebTestCase"
A module can have one or more test cases, they can in single file or in many other files
All test files should have am extention as .test and should be named as MODULENAME.test
Create your new test case simple_test/tests/simple_test.test file.
All functional tests in Drupal should extend the DrupalWebTestCase class which will provide the utility functions used to drive the test browser, helper functions for interacting with a Drupal application and all the assertions we will use to perform our actual tests.
Add the below code to your simple_test.test.
<?php class SimpleTest extends DrupalWebTestCase { }Add a getInfo() method to your SimpleTest class. This method returns an array that provides meta-data about our test that the SimpleTest module can use when displaying our test in the UI. This method is required in order for your test to work. This getInfo() method looks like shown below.
public static function getInfo() { return array( 'name' => 'Simple Test', 'description' => 'Tests for the Simple Test module.', 'group' => 'Simple Test Group', ); }Now add a setUp() method to SimpleTest. This method is called when the system is preparing the environment for running our tests. In this case, we need to ensure that our module is enable during setup so that the page we want to test is available. We can do this by calling the parent classes's setUp() method and passing it an array of modules we want enabled. This setUp() method looks like this
public function setUp() { parent::setUp(array('simple_test')); }Add a test*() method to our class. Each test case can have one or more methods whose names are prefixed with the string test. Each of these methods will be automatically called by the SimpleTest test runner and should contain the various assertions required in order to demonstrate that this test is passing. This example will use the DrupalWebTestCase::drupalGet() method in order to tell the internal browser to navigate to the URL /helloworld. And then use the DrupalWebTestCase::assertText() method to verify that the string, "Hello World ...", exists somewhere in the HTML output of the page the internal browser is currently looking at.
public function test_your_simple_test() { $this→drupalGet('simple_test'); $this→assertText('Welcome to Drupal. Its simple_test..!', 'The page content is present.');}And last, we need to tell Drupal about our new test. Update your simple_test.info file and add the following line so that after clearing the cache the registry will contain a reference to our new SimpleTest class.
files[] = tests/helloworld.test
3. Run Test.
Clear the cache so Drupal locates our new test(s). Navigate to Configuration > Performance (admin/config/development/performance) in the Toolbar and then clicking the "Clear all caches" button.
Navigate to Modules (admin/modules) in the Toolbar. Enable the Testing module in the Core section.
Navigate to Configuration > Testing (admin/config/development/testing).
Select the checkbox for the "SimpleTest" test to run all tests in this group, or alternately tip the drop down open and choose the individual test case you want to run.
Click the "Run tests" button.
A new page will open and display a progress bar while your tests run.
Once completed, you will be directed to a page with a table that shows the results of your tests.


