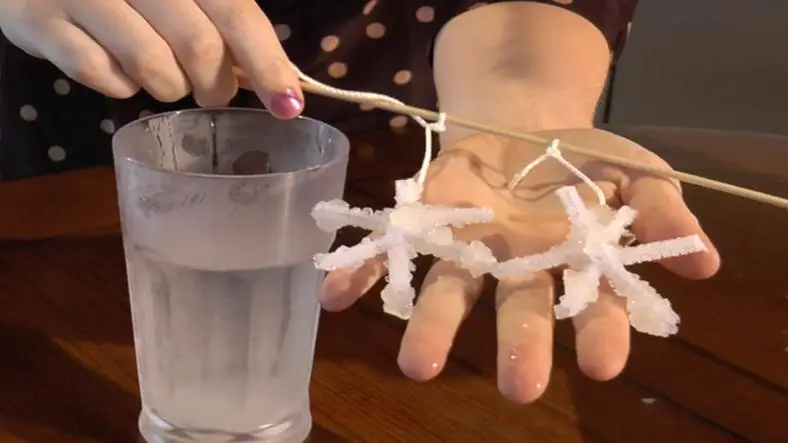
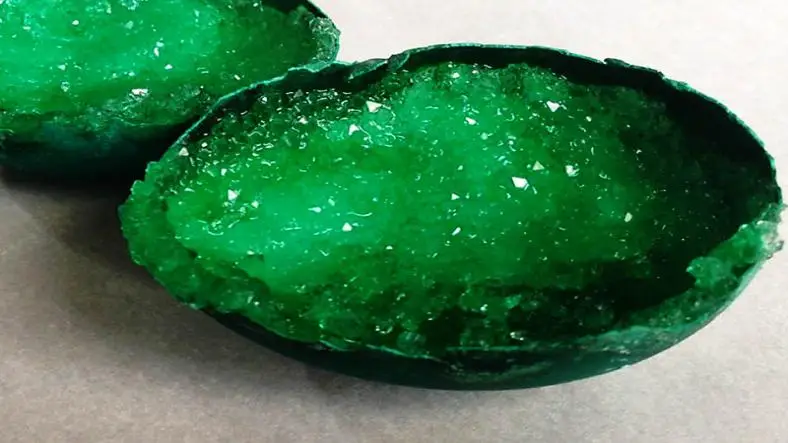
Creating Borax crystal snowflakes is a captivating and educational science experiment that allows children to observe crystal formation and learn about solubility, saturation and crystallization. Here's a step-by-step guide:
Materials:
- Borax powder (available in the laundry aisle of most supermarkets)
- Pipe cleaners (white or blue works well for snowflakes)
- String or yarn
- Pencil or stick
- Scissors
- Water
- Saucepan or microwave-safe container
- Stirring spoon
- Optional: Food coloring, glitter
Procedure:
- Create Snowflake Shapes:
- Cut pipe cleaners into pieces of equal length.
- Twist and shape the pipe cleaner pieces into snowflake shapes. Encourage children to be creative with their designs, making each snowflake unique.
- Tie a piece of string or yarn to each snowflake. This will serve as a hanger for the crystal snowflakes.
- Prepare the Borax Solution:
- Heat water in a saucepan or microwave-safe container until it's hot but not boiling.
- Gradually add Borax powder to the hot water, stirring continuously, until no more Borax dissolves. This creates a supersaturated Borax solution.
- Optional: Add a few drops of food coloring and/or glitter to the solution to create colored and sparkling crystals.
- Submerge Snowflakes:
- Lower the snowflakes into the Borax solution, ensuring that they are fully submerged and do not touch the sides or bottom of the container.
- Use a pencil or stick to suspend the snowflakes in the solution if needed.
- Let Crystals Form:
- Place the container in a cool, undisturbed location where it won't be disturbed. Allow several hours or overnight for crystals to form on the snowflakes. You should start to see crystal growth within a few hours.
- Check the progress of the crystal growth regularly. Encourage children to observe and document any changes they see.
- Once the crystals have reached the desired size, carefully remove the snowflakes from the Borax solution. Allow them to dry completely before handling or displaying.
Explanation:
As the Borax solution cools, the solubility of the Borax decreases, causing the excess Borax to come out of the solution and crystallize on the snowflakes. The seed crystals provided by the pipe cleaners promote crystal growth.
Tips:
- Experiment with different colors and shapes by using various food coloring and pipe cleaner designs.
- Encourage children to make predictions about how long it will take for crystals to form and compare their observations with their predictions.
- Discuss the science behind crystal formation and how it relates to concepts such as solubility and saturation.
Creating Borax crystal snowflakes is not only a fascinating experiment but also a beautiful and decorative project that children can proudly display during the winter season.
Thanks for reading the article, for more Science and Technology related articles read and subscribe to peoples blog articles.


